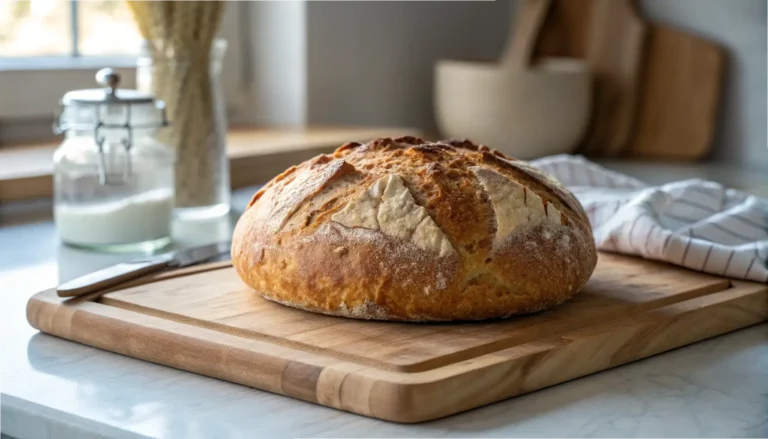
No-Knead Artisan Bread: Seriously Foolproof & Delicious
Oh, No-Knead Artisan Bread, how I adore thee! There was a time, not so long ago, when baking homemade bread felt like an insurmountable challenge, reserved only for seasoned pros with mystical powers and endless hours for kneading. As a busy home cook, the idea of spending an entire afternoon beating dough was simply out of the question – until a friend casually whispered about ‘no-knead bread,’ and my ears perked up, full of skepticism.
Could something so simple truly yield that gorgeous, crackly crust and airy, chewy interior? Well, that first loaf was nothing short of a revelation, a slightly dense but utterly flavorful masterpiece that instantly made me feel like I’d unlocked a secret kitchen superpower. Since then, crafting this No-Knead Artisan Bread has become a cherished weekend ritual, filling our home with that comforting hum and irresistible scent, making it the perfect accompaniment for anything from a simple smear of butter to incredible main dishes like these roast beef sliders.
This isn’t just a recipe for No-Knead Artisan Bread: Seriously Foolproof; it’s my heartfelt invitation to rediscover the profound joy of homemade bread, no fancy equipment or endless hours required. And if you find yourself bitten by the baking bug after this effortless experience, you might even want to explore another simple option, like our easy sourdough discard bread! Trust me, dear reader, you absolutely *can* do this, and you’re going to love every single crumb.
No-Knead Artisan Bread: Seriously Foolproof & Delicious
Course: BreadCuisine: EuropeanDifficulty: Easy4
servings30
minutes40
minutes300
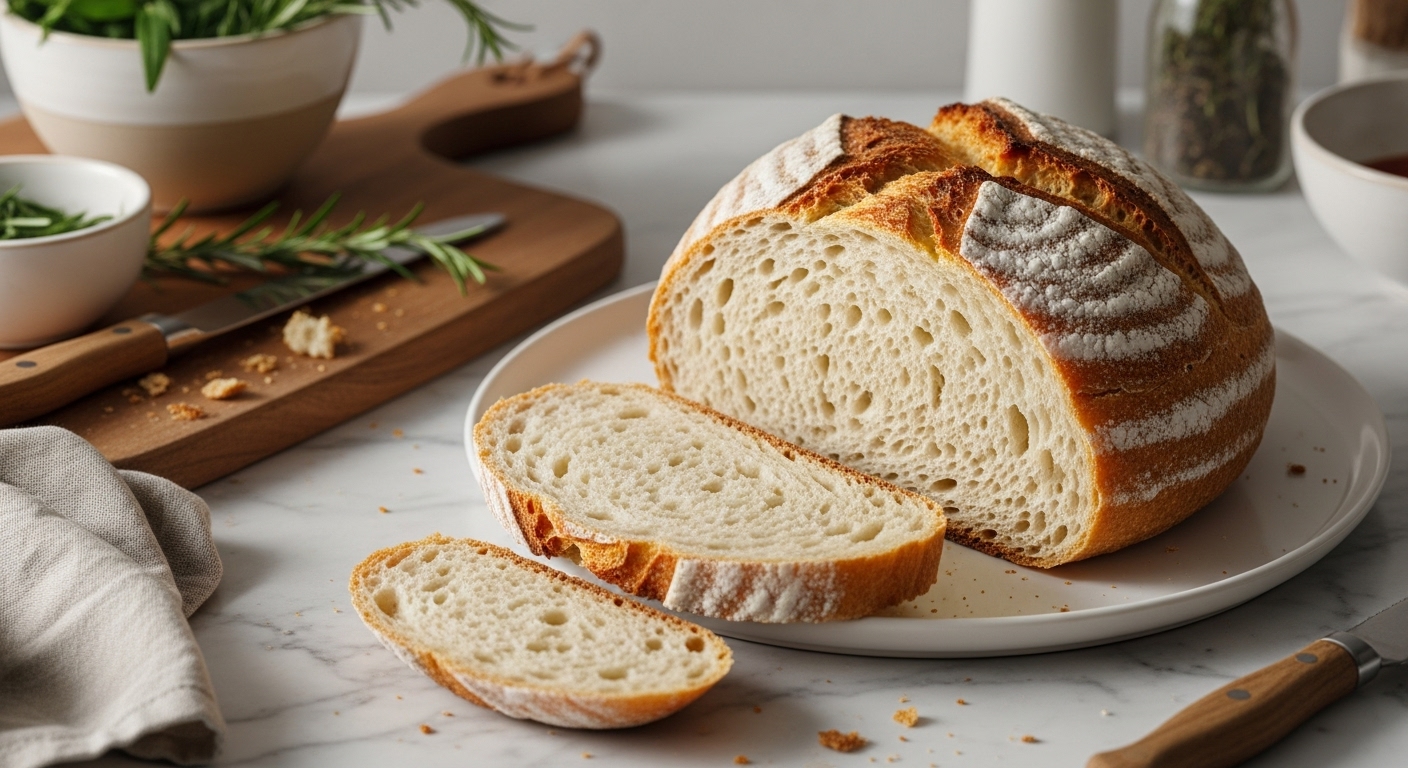
kcalAchieve bakery-quality crusty artisan bread with almost no effort! This no-knead method uses a long, slow rise to develop incredible flavor and texture, perfect for beginners.
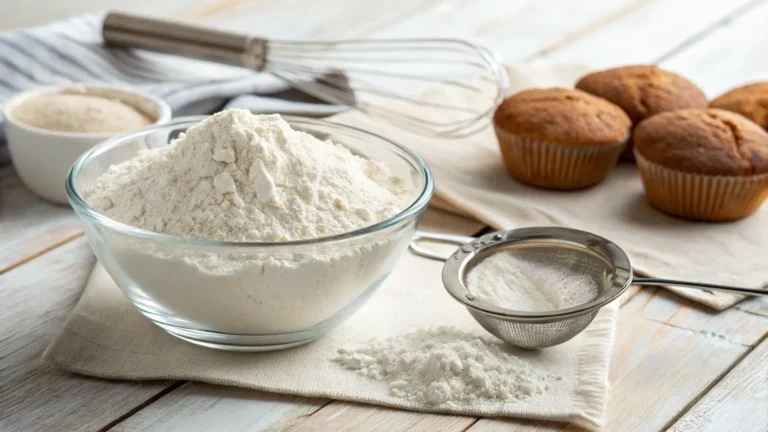
Ingredients
3 cups (380g) all-purpose flour
1 ¼ teaspoons salt
½ teaspoon instant yeast
1 ½ cups (360ml) lukewarm water (about 105-115°F / 40-46°C)
Olive oil for greasing
Extra flour or cornmeal for dusting
Directions
- 1. In a large bowl, whisk together the flour, salt, and instant yeast until well combined. This is your dry team, ready for action!
- 2. Pour in the lukewarm water and mix with a wooden spoon or a spatula until a shaggy, sticky dough forms. Don’t worry about lumps; just make sure there are no dry spots of flour. Cover the bowl tightly with plastic wrap.
- 3. Let the dough rise at room temperature (about 70°F / 21°C) for 12-18 hours. Overnight is perfect! It should be bubbly and more than doubled in size. This slow rise is where the magic happens for flavor.
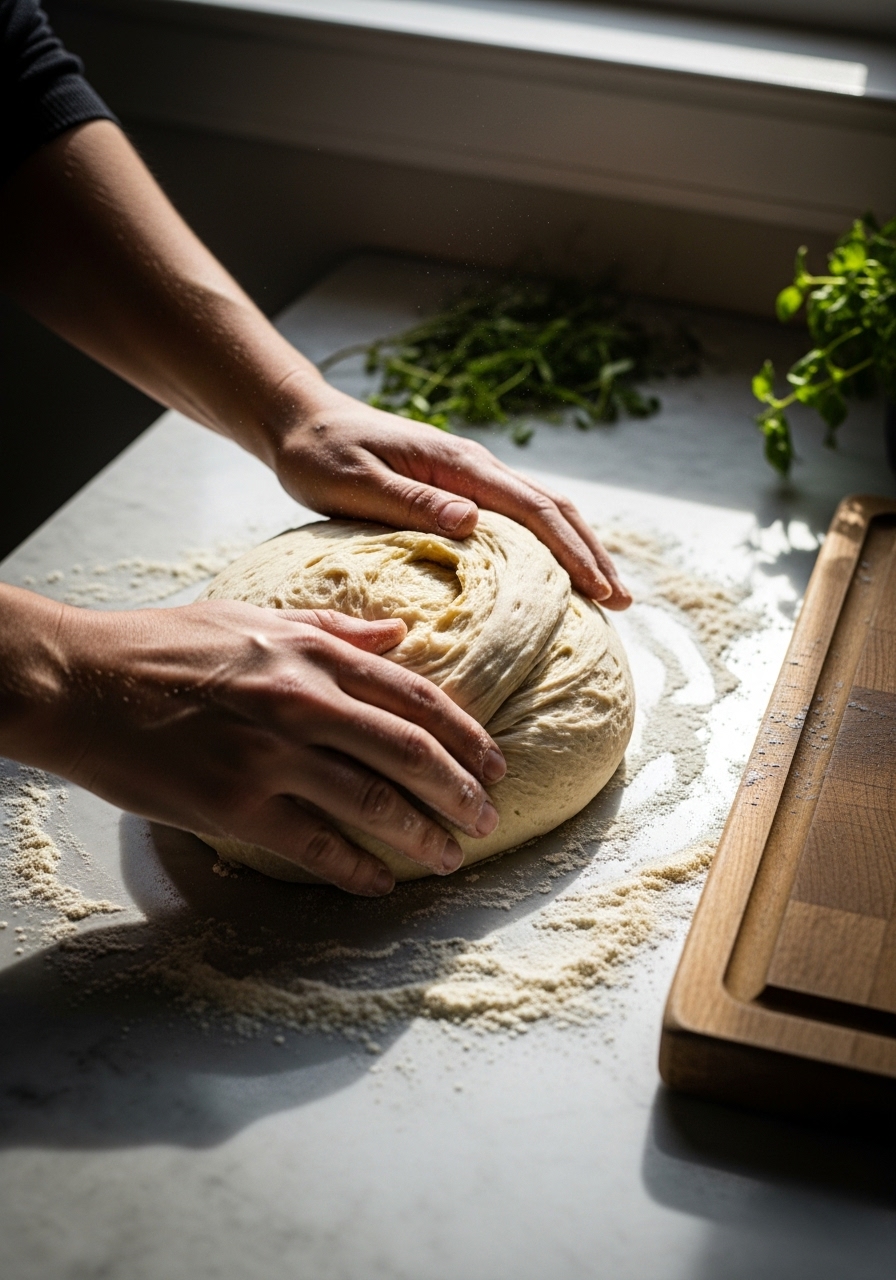
- 4. After the rise, lightly flour a clean work surface. Gently scrape the dough out onto the floured surface. Avoid punching it down too much; we want to preserve those precious air bubbles.
- 5. With floured hands, gently fold the edges of the dough towards the center, turning the dough over until you have a rough ball shape. Don’t overwork it!
- 6. Lightly grease a large piece of parchment paper with olive oil and dust generously with flour or cornmeal. Place the dough ball seam-side down onto the prepared parchment paper.
- 7. Cover the dough loosely with plastic wrap or a clean kitchen towel and let it rest for another 30 minutes to 1 hour while your oven preheats.
- 8. About 30 minutes before baking, place a 6-quart (or larger) Dutch oven with its lid into your cold oven. Preheat the oven to 450°F (230°C). Heating the Dutch oven is key to that amazing crust!
- 9. Once the oven and Dutch oven are preheated, carefully remove the hot Dutch oven. Using the parchment paper as a sling, gently transfer the dough into the hot Dutch oven. Score the top of the dough with a sharp knife if desired.
- 10. Cover the Dutch oven with its lid and bake for 30 minutes. Remove the lid and continue baking for another 15-20 minutes, or until the crust is deep golden brown and sounds hollow when tapped.
- 11. Carefully remove the bread from the Dutch oven and transfer it to a wire rack to cool completely before slicing. This step is crucial for the internal texture!
Notes
- The Perfect Rise: Room temperature is key! If your kitchen is a bit chilly, find a warmer spot (like on top of the fridge) for your dough to hang out. The longer the rise (up to 18 hours), the more complex the flavor will be. Don’t rush it!
- Dutch Oven Magic: Don’t have a Dutch oven? No worries! You can use any heavy-bottomed, oven-safe pot with a lid. The idea is to trap the steam for the first part of baking to create that beautiful, crispy crust.
- Cool Your Jets: Seriously, resist the urge to slice into that warm, fragrant loaf right away! Cooling completely on a wire rack allows the internal structure to set, preventing a gummy texture. Patience, my friend, is a virtue here!